socket.io 前后端实践


1. 后端配置
1.1 安装依赖
bash
npm install express socket.io1.2 编写代码
js
// server.js

import express from "express";
import http from "http";
// Step 1: 导入 socket.io
import socketIo from "socket.io";

const app = express();

// Step 2: 创建 http 服务器
const io = new socketIo.Server(1234, {
  // 配置允许跨域
  // @ts-ignore
  cors: true,
});

app.get("/", (req, res) => {
  res.send("Hello World");
});

// Step 3: 监听 http 服务器
// 监听连接
io.on("connection", (socket) => {
  console.log("a user connected");

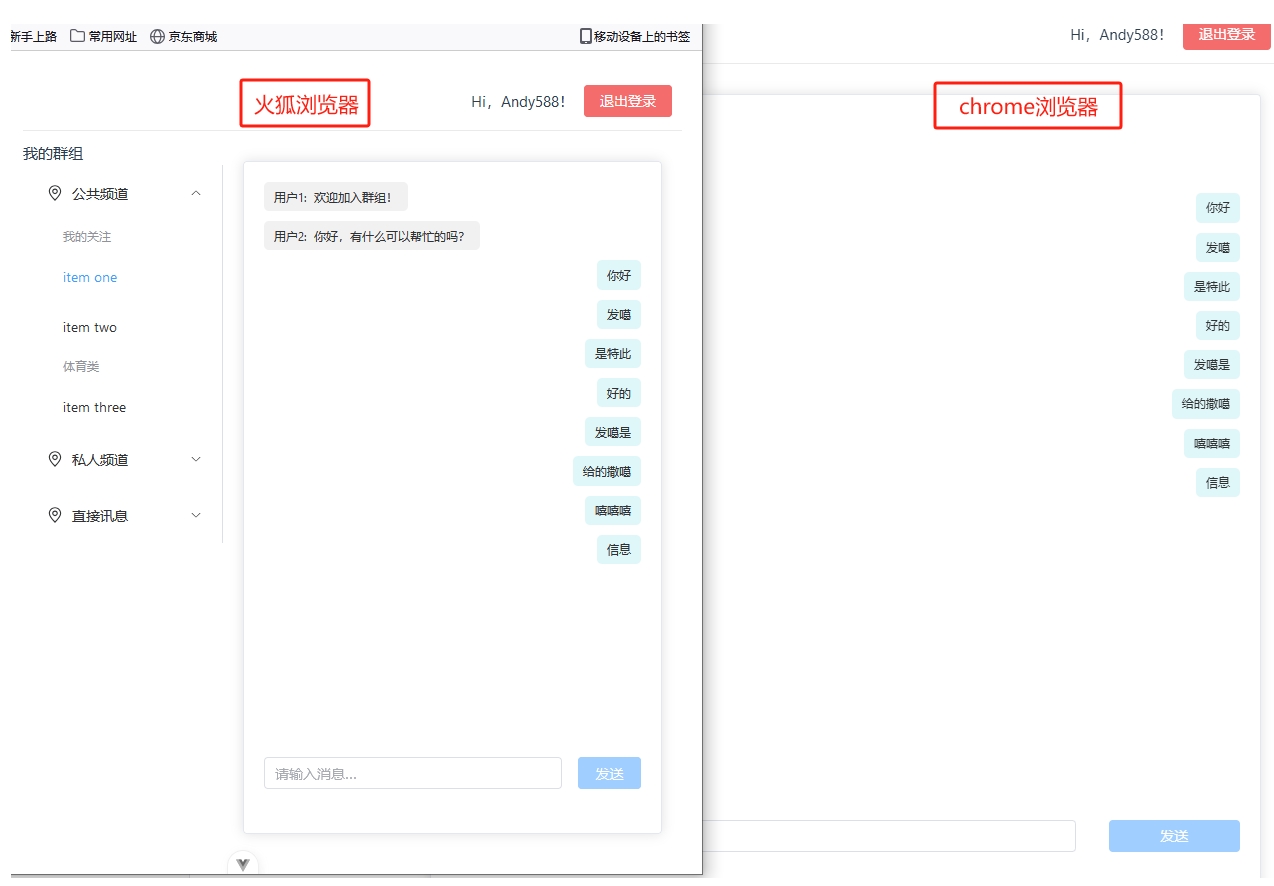
  // 接收到客户端消息后,广播给所有客户端
  socket.on("sendMessage", (message) => {
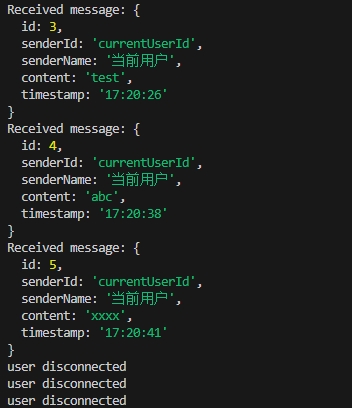
    console.log("Received message:", message);
    io.emit("message", message); // 向所有客户端广播消息
  });

  socket.on("disconnect", () => {
    console.log("user disconnected");
  });
});

// 启动服务器
const PORT = 3000;
server.listen(PORT, () => {
  console.log(`Server is running on http://localhost:${PORT}`);
});2. 前端配置
2.1 安装依赖
bash
npm install socket.io-client2.2 编写代码
vue
<template>
  <div class="chat-container" style="height: calc(100vh - 150px)">
    <el-card style="height: 100% !important">
      <div class="chat-content-wrapper">
        <!-- 群组聊天内容展示 -->
        <div class="chat-content">
          <div
            v-for="msg in messages"
            :key="msg.timestamp"
            :class="[
              'message',
              msg.senderId === currentUserId ? 'current-user' : 'other-user',
            ]"
          >
            <strong
              v-if="msg.senderId !== currentUserId"
              style="padding-right: 4px"
            >
              {{ msg.senderName }}:
            </strong>
            <span>{{ msg.content }}</span>
          </div>
        </div>

        <!-- 聊天输入区域 -->
        <div class="send-message-box">
          <el-row type="flex" justify="space-between" align="middle">
            <el-col :span="19">
              <el-input
                v-model="message"
                placeholder="请输入消息..."
                @keydown.enter="sendMessage"
              />
            </el-col>
            <el-col :span="4">
              <el-button
                type="primary"
                @click="sendMessage"
                :disabled="!message"
              >
                发送
              </el-button>
            </el-col>
          </el-row>
        </div>
      </div>
    </el-card>
  </div>
</template>

<script setup>
import { ref, onMounted, watch, onBeforeUnmount } from "vue";
import { useRoute } from "vue-router";
import { ElMessage } from "element-plus";
import { io } from "socket.io-client";

const route = useRoute();
// 当前选中的Tab
const activeTab = ref("group-chat");
// 群组ID
const groupId = ref("");
// 当前用户ID(模拟的当前用户ID)
const currentUserId = ref("currentUserId");
// 群组聊天消息
const message = ref(""); // 输入框的消息内容
const messages = ref([
  { id: 1, senderId: "user1", senderName: "用户1", content: "欢迎加入群组!" },
  {
    id: 2,
    senderId: "user2",
    senderName: "用户2",
    content: "你好,有什么可以帮忙的吗?",
  },
]);
// 创建 Socket.io 连接
const socket = io("ws://localhost:1234", {
  transports: ["websocket"], // 使用 WebSocket 传输
  withCredentials: true, // 允许携带 cookies
}); // 请根据实际的后端地址替换

// 监听消息
const listenForMessages = () => {
  socket.on("message", (msg) => {
    messages.value.push(msg); // 接收到的消息添加到聊天记录
  });
};

// 发送消息
const sendMessage = () => {
  if (message.value.trim()) {
    const newMessage = {
      id: messages.value.length + 1, // 模拟生成新的消息ID
      senderId: currentUserId.value, // 当前用户ID
      senderName: "当前用户", // 当前用户的名称
      content: message.value.trim(),
      timestamp: new Date().toLocaleTimeString(), // 记录时间戳
    };

    socket.emit("sendMessage", newMessage); // 发送消息到服务器
    message.value = ""; // 清空输入框
    scrollToBottom(); // 滚动到最新消息
  } else {
    ElMessage.error("消息不能为空");
  }
};

// 滚动到消息底部
const scrollToBottom = () => {
  const chatContent = document.querySelector(".chat-content");
  chatContent.scrollTop = chatContent.scrollHeight;
};

// 获取群组ID并更新
onMounted(() => {
  groupId.value = route.params.groupId || "defaultGroupId"; // 默认值防止出错
  listenForMessages(); // 开始监听实时消息
});

// 在组件销毁时,取消 socket 监听
onBeforeUnmount(() => {
  socket.off("message"); // 取消消息监听
});

watch(route, (newRoute) => {
  groupId.value = newRoute.params.groupId || "defaultGroupId";
});
</script>

<style lang="scss" scoped>
// 略...
</style>3. 性能优化(最佳实践)
TODO